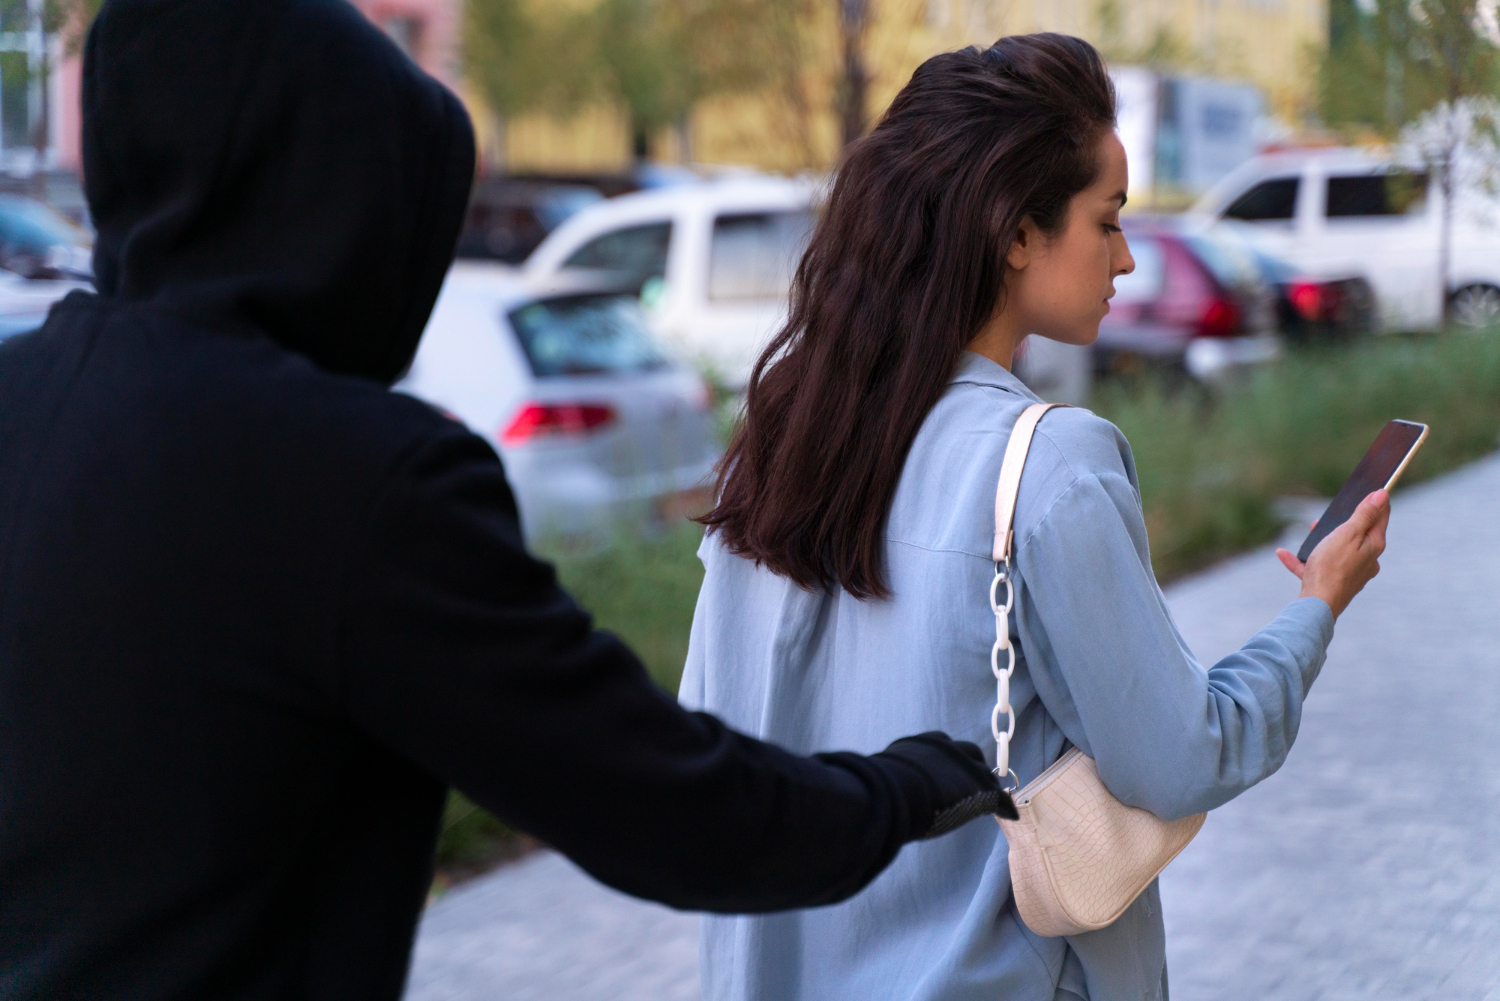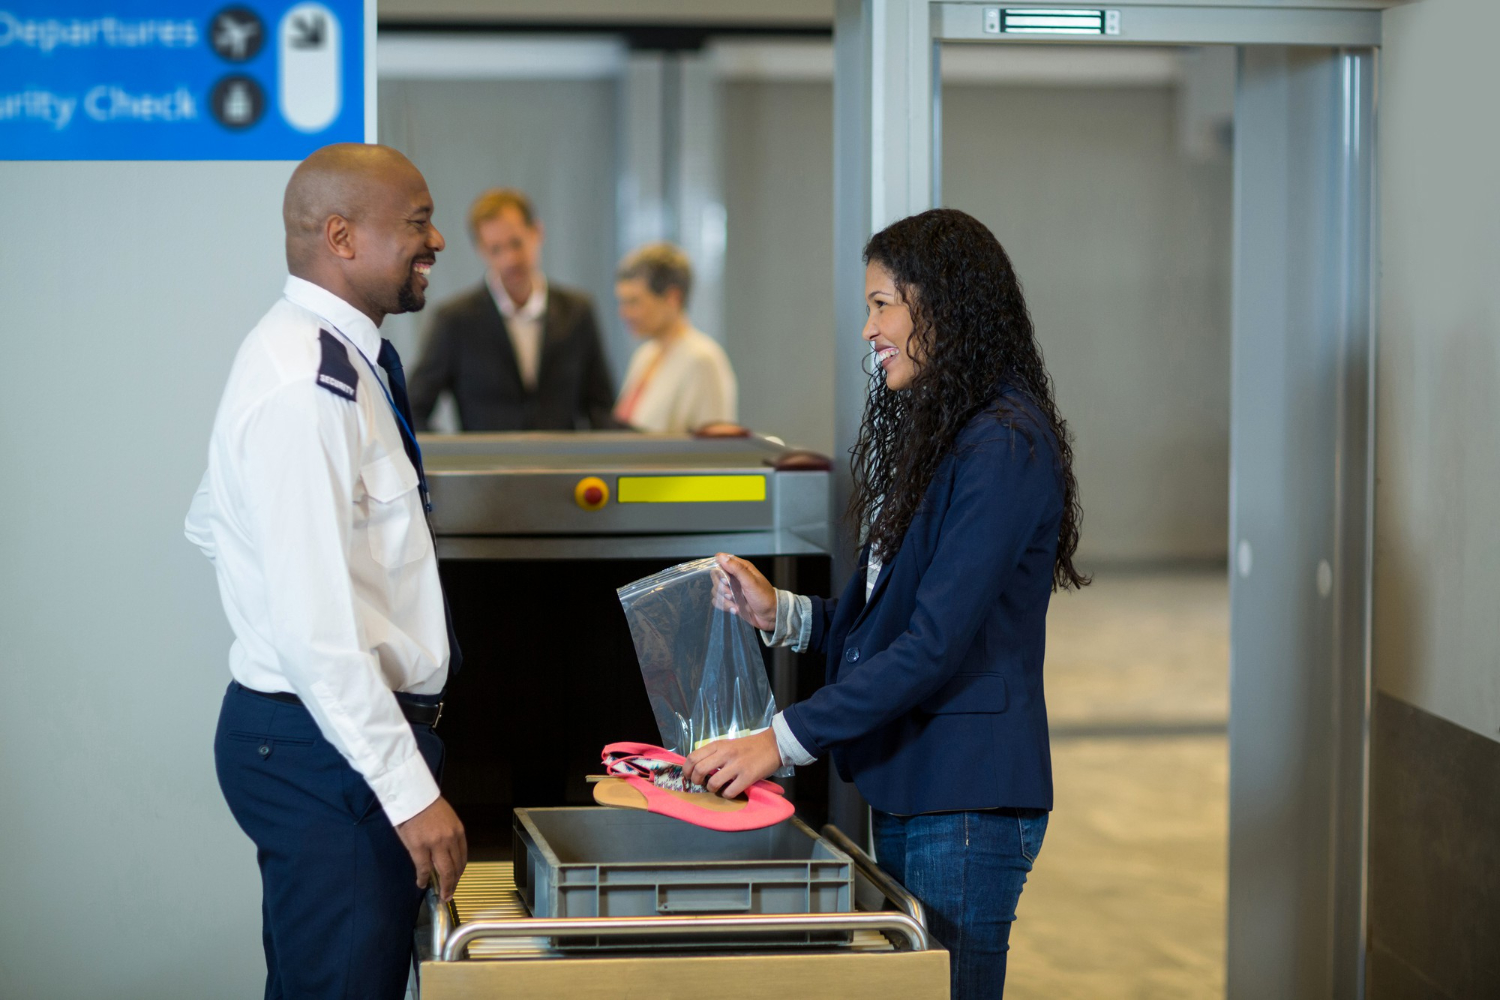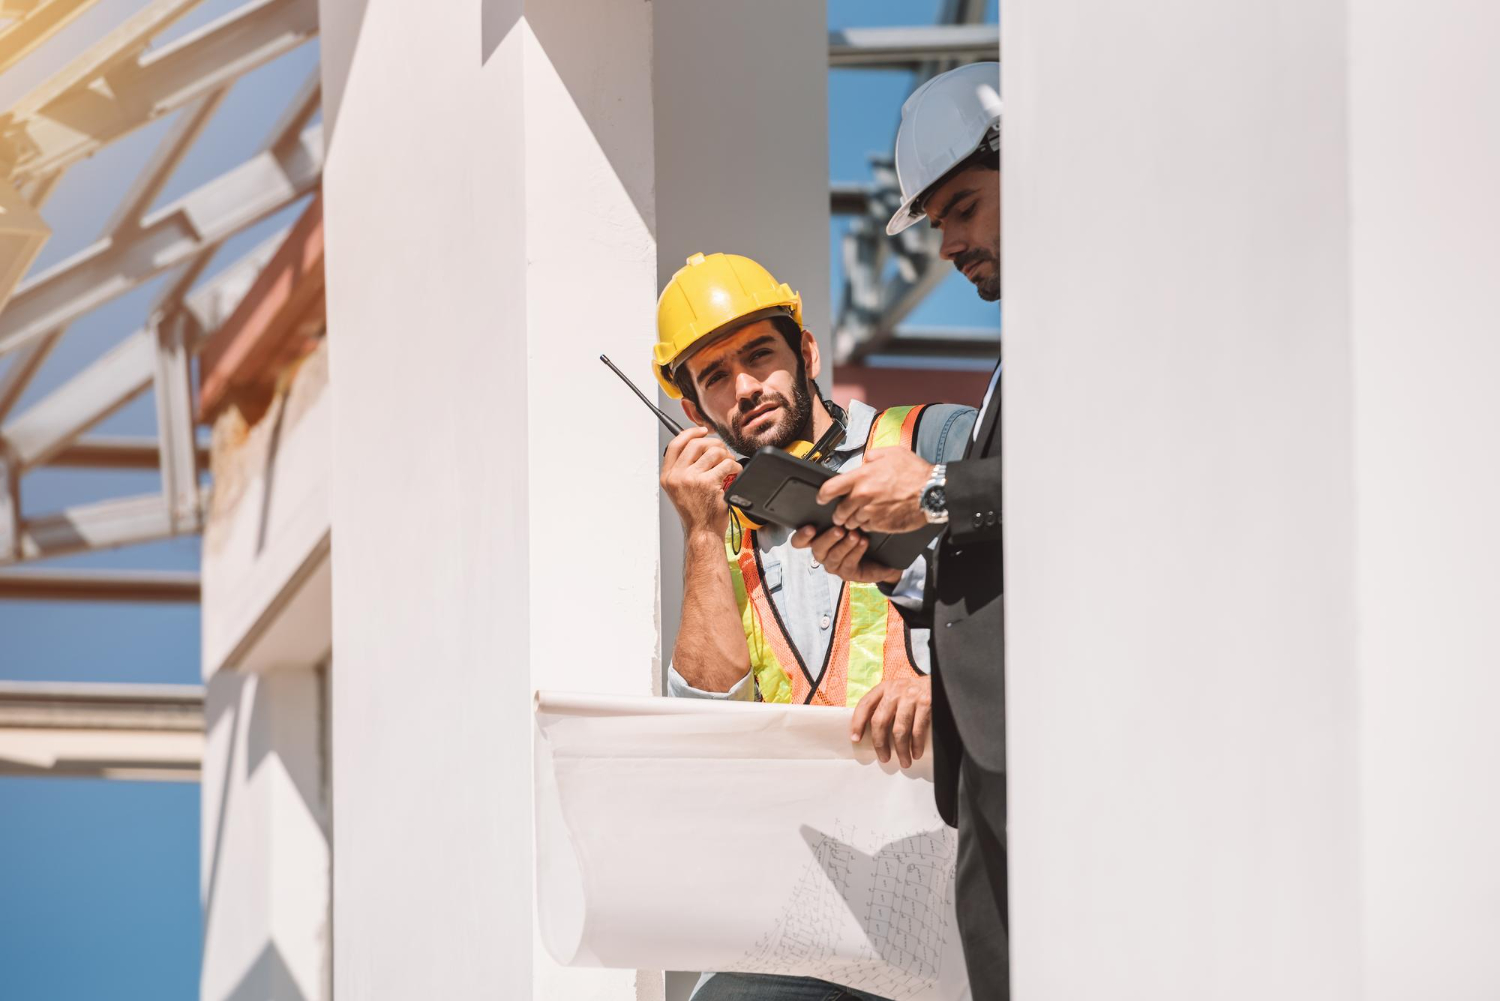
Learning how to install a construction security camera system requires careful planning and the right equipment. San Jose private security professionals recommend selecting durable, high-quality cameras that can withstand harsh weather conditions and rough environments. Your camera setup should include night vision, motion sensors, and remote viewing options. Place cameras at important spots around your site for the best coverage. These steps will help protect your construction project from theft and damage.
Selecting the Right Cameras
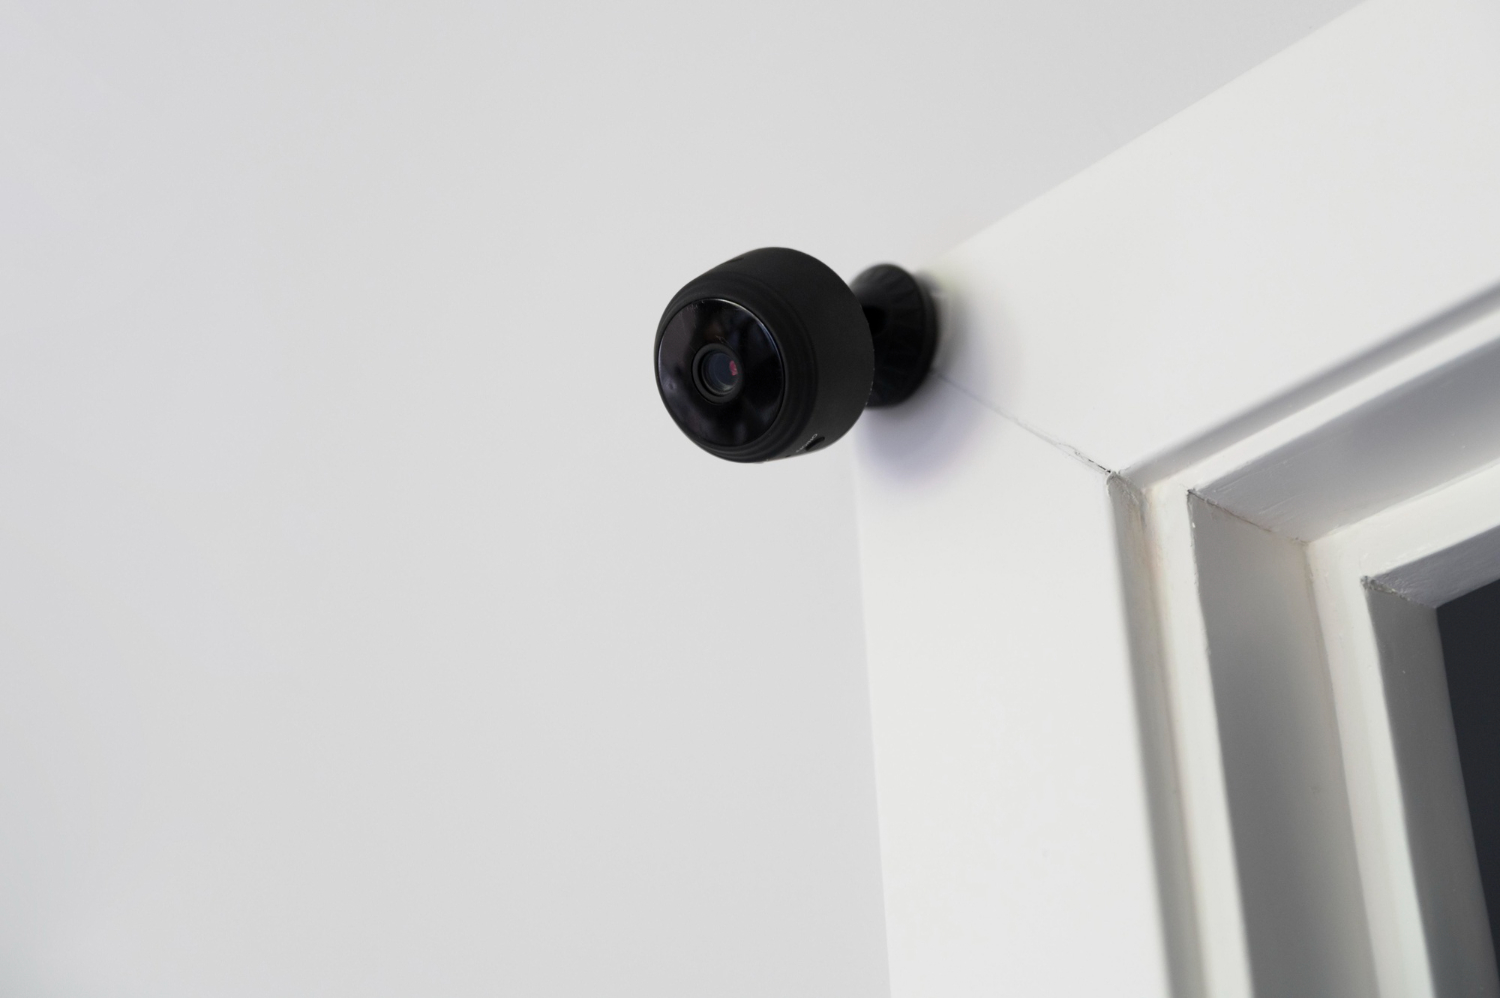
Pick cameras that can survive tough construction environments and provide clear images. Your cameras need weather protection and strong cases that resist damage from dust, rain, and potential vandalism. Choose high-definition models that record sharp video for identifying people and tracking activities. Night vision helps you monitor the site after dark when most break-ins happen. Motion detection saves storage space by only recording when something moves. Wide-angle lenses reduce blind spots and cover more area with fewer cameras.
Planning Camera Placement
Clever camera placement makes the difference between good and poor surveillance coverage. Plan where each camera goes before you start installing anything. Focus on these key areas:
- Critical Areas: Cover entry points, material storage zones, and equipment areas where theft is most likely.
- Line of Sight: Make sure cameras can see clearly without objects blocking their view, and overlap coverage areas to avoid blind spots.
- Height and Angles: Mount cameras high enough to prevent tampering but at angles that capture faces and license plates clearly.
Ensuring Proper Connectivity
Your cameras need reliable connections to work properly. Run cables carefully and protect them from the weather and damage that could interrupt the signal. Use good-quality Ethernet cables for digital cameras, and consider Power over Ethernet (PoE) systems that provide both power and data through one cable. Check that your network switch or recorder has enough ports for all your cameras. Test each camera connection after installation to make sure the video feed works correctly and troubleshoot any connection problems right away.
Setting Up Monitoring Systems
A well-configured monitoring system helps you catch security issues quickly. Pay attention to these setup details:
- Positioning Cameras: Place cameras to watch all important areas like gates, equipment storage, and valuable materials.
- Setting Up Alerts: Program the system to notify you immediately when it detects movement or unauthorized access, so you can respond fast to potential problems.
- Testing System Functionality: After installation, check that camera angles work well, images are clear, motion detection works accurately, and recording functions operate correctly.
Implementing Remote Access
Remote viewing lets you monitor your construction site from anywhere with internet access. Set up secure network connections with encryption to protect your video data. Control who can access the system using strong passwords or fingerprint verification. Remote access means you can watch live video feeds and respond quickly to security alerts, even when you’re not on site. Keep access software updated and check login records regularly to maintain security.
Testing and Maintenance
Regular testing and upkeep keep your security system working reliably over time.
- Check all cameras regularly to confirm they’re working correctly, with clear images, correct angles, and good connections to your monitoring station.
- Test recording and storage functions to verify that video footage saves correctly and can be retrieved when needed.
- Clean camera lenses, inspect cables for damage, and update software to keep everything running smoothly and prevent system failures.
Related Topics: