How Accurate are Drone Surveys?

Drone surveys are known for their high accuracy, thanks to advanced sensors, GPS geotagging, and real-time kinematic (RTK) technology. These surveys enable detailed 3D modeling, precise image capture, and faster data collection, making them indispensable for industries like construction, agriculture, and disaster response. However, environmental factors such as weather and terrain challenges can affect their […]
What Does a Loss Prevention Officer Do?
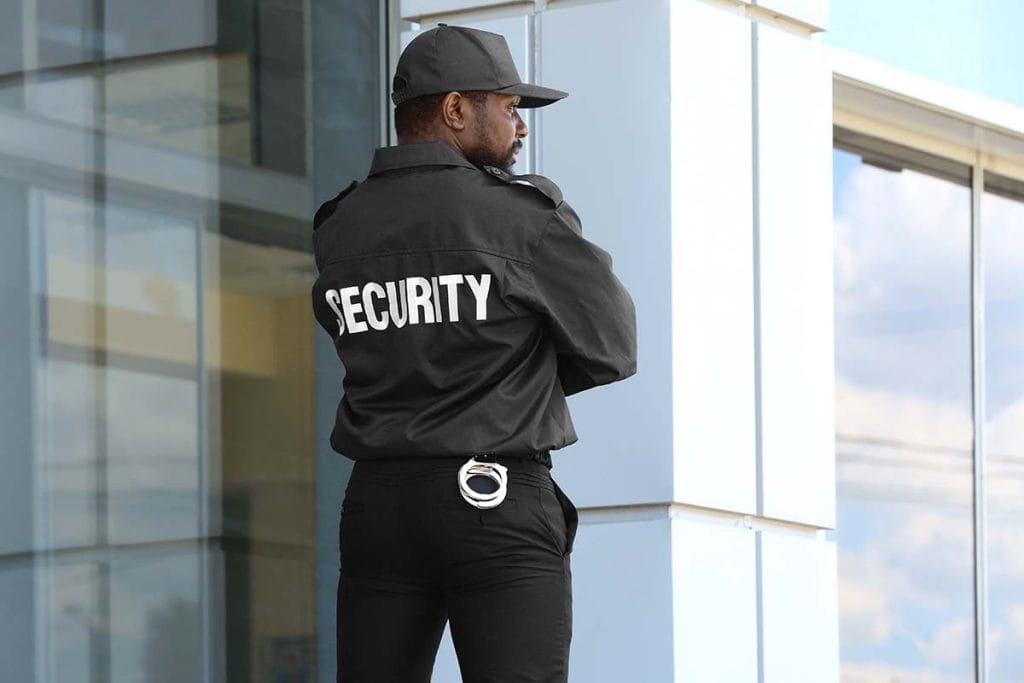
Loss prevention officers play a crucial role in maintaining the security of establishments by proactively identifying, preventing, and responding to threats. Their responsibilities extend beyond basic surveillance—they ensure a safe environment, minimize potential losses, and collaborate with law enforcement to address criminal activities. These officers are essential for preventing theft and protecting assets within businesses. […]
The Goal of Loss Prevention: Protecting Your Business From Losses

Understanding the goal of loss prevention helps businesses protect their profits and reduce risks. Every company faces threats such as theft, fraud, and operational mistakes that can harm its bottom line. Strong prevention methods build defenses that keep your business safe from financial setbacks. Highly trained private security guards and smart prevention tactics work together […]
How Long Can Loss Prevention Detain You: A Guide for Shoppers

Understanding how long loss prevention can detain you is important for every shopper. Store security officers can hold suspected shoplifters for a reasonable period, although no specific time limits are stipulated in law. A full-service security company typically trains staff on proper detainment procedures that balance safety with individual rights. This guide explains your legal […]
How Long Does a Loss Prevention Investigation Take: Key Factors Explained

Understanding how long a loss prevention investigation takes depends on several important factors that affect the timeline. A trusted local security company will tell you that no two investigations follow the same schedule. Case complexity, available evidence, and cooperation from involved parties all play significant roles. The experience of investigators and available resources also impact […]
Best Practices in Loss Prevention: Techniques Used by Most Clients
Certified private security guards and businesses rely on proven best practices in loss prevention to protect their assets and reduce theft. This guide covers the most effective techniques clients use to prevent losses and improve security. These methods include thorough employee training, advanced surveillance technology, robust access control, intelligent inventory management, and data analysis. Each […]
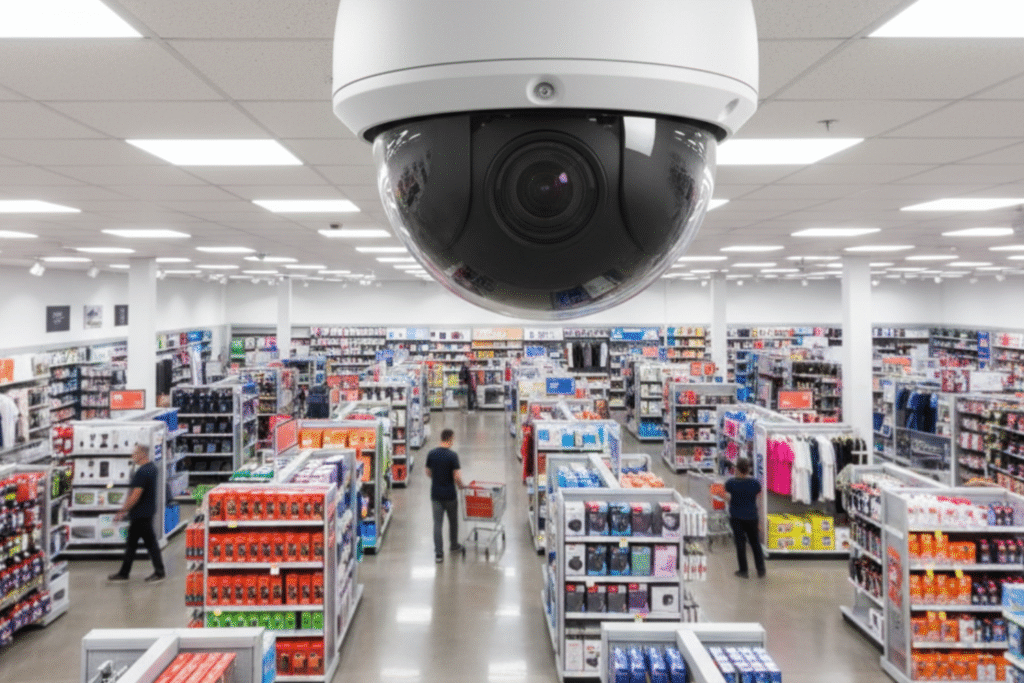
How to Tell if a Security Camera Is Recording in 5 Easy Steps

Understanding how to determine if a security camera is recording helps property owners effectively monitor their surveillance systems. Security cameras serve as silent guardians for homes and businesses, but knowing their operational status remains crucial for proper security management. Many people struggle with identifying recording indicators on their surveillance equipment. This guide breaks down five […]
How to Install Security Camera Wiring: Tips for Beginners

Learning how to install security camera wiring can seem overwhelming for first-time installers. This guide breaks down the process into simple steps that anyone can follow. You’ll need basic tools like a power drill, fish tape, and wire strippers to get started. A trusted security guard company in San Jose often recommends proper wiring techniques […]
How to Run Security Camera Wires Through Walls for Clean and Hidden Installation

Installing security camera wires inside walls creates a clean, professional look for your home surveillance system. Learning how to run security camera wires through walls takes some planning and the right approach. Many homeowners and top-rated security guards in San Jose recommend this method for keeping wires hidden and protected. This guide walks you through […]
How to Install a Construction Security Camera System: Tips and Best Practices
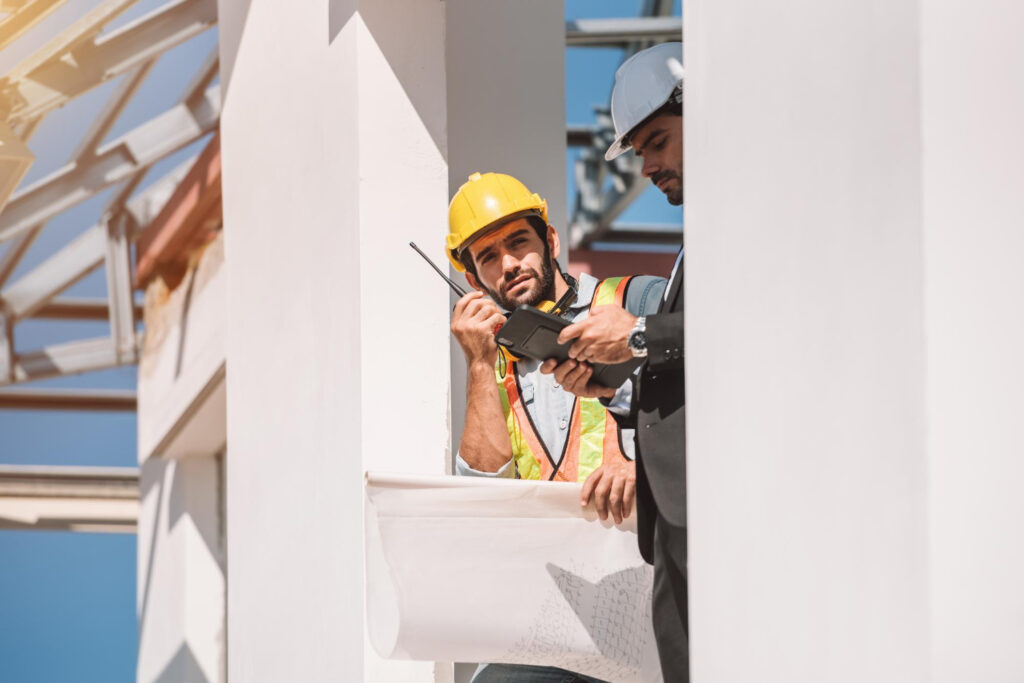
Learning how to install a construction security camera system requires careful planning and the right equipment. San Jose private security professionals recommend selecting durable, high-quality cameras that can withstand harsh weather conditions and rough environments. Your camera setup should include night vision, motion sensors, and remote viewing options. Place cameras at important spots around your […]