Installing security camera wires inside walls creates a clean, professional look for your home surveillance system. Learning how to run security camera wires through walls takes some planning and the right approach. Many homeowners and top-rated security guards in San Jose recommend this method for keeping wires hidden and protected. This guide walks you through each step of the process, from planning your routes to testing the final setup. We’ll cover the tools you need, preparation steps, and techniques that make the job easier.
Planning Your Wire Routes
Start by mapping the best paths for your camera wires before you begin drilling. Walk around your home and look for the shortest, most direct routes between cameras and your recording device. How to run security camera wires through walls becomes much easier when you avoid obstacles like plumbing, electrical lines, and support beams. Use a stud finder to locate wall studs and mark them clearly. Measure each wire path carefully so you know exactly how much cable you’ll need for every section.
Selecting the Right Tools
Having the right tools makes this job much easier. You’ll need a stud finder to locate wall studs, fish tape to pull wires through walls, and a drill with long bits for making holes. A level helps keep your wire paths straight, while wire cutters and strippers prepare your cables properly. Don’t forget a flashlight and a voltage detector for safety. These tools help you work efficiently and avoid mistakes that could damage your walls.
Preparing the Wall Openings
Before drilling any holes, measure twice and mark exactly where you need them. Use your stud finder to locate studs and avoid drilling into them. Measure distances from floors, ceilings, and between studs to get accurate placement. Mark your drill points with a pencil first. Think about the size of your wires and connectors to make sure your holes are big enough. Taking time here prevents costly mistakes and keeps your walls looking good.
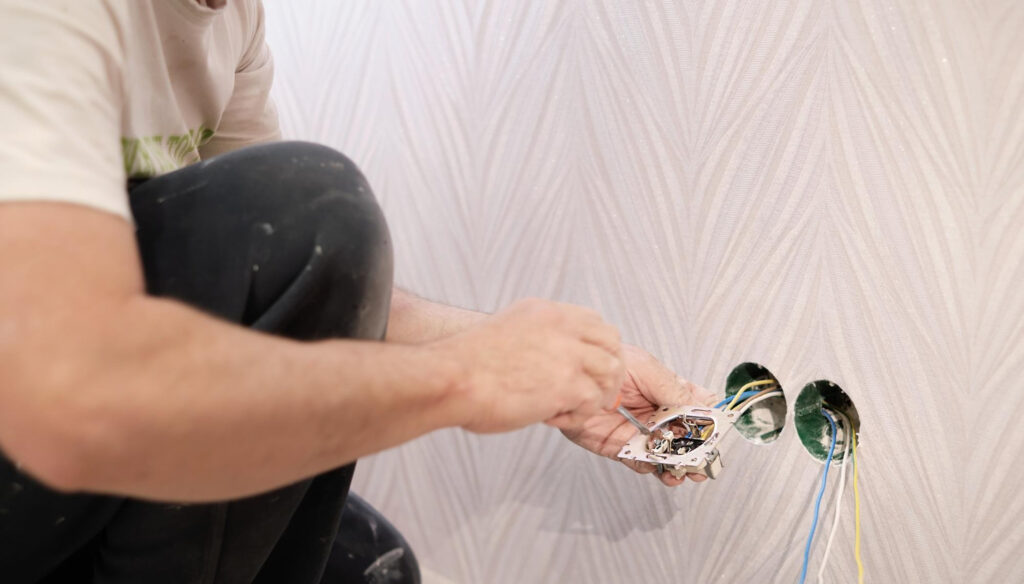
Fishing the Wires Through
This step requires patience and a steady hand. Attach your camera wire firmly to the fish tape, making sure it won’t come loose inside the wall. Feed the fish tape through your wall opening slowly and steadily. If you hit resistance, back up slightly and try a different angle. Don’t force it – walls have lots of hidden obstacles. Work methodically, and you’ll get your wires through without damaging anything.
Securing and Concealing the Wires
Once your wires are through, secure them properly with cable clips or staples. Keep wires tight and running in straight lines between your cameras and recording equipment. Hide visible sections with cable management tracks or raceways for a clean appearance. Bundle multiple wires together with electrical tape to reduce clutter. Use wall plates with cable openings when crossing doorways. Proper securing protects your wires and keeps everything looking professional.
Testing and Finalizing Installation
Power up your system and check that all cameras show clear video. Test each camera’s angle and coverage area to make sure they capture what you need. Try accessing your cameras remotely through your phone or computer to confirm everything connects properly. Test motion detection by walking in front of each camera. Clean up any loose wires, double-check all connections, and do a final walkthrough. Thorough testing now prevents problems later.
Related Topics: