Protecting your property doesn’t always require permanent installations or complex tools. Many homeowners and renters want to install cameras without damaging walls or surfaces. Just like trusted private security guards adapt to different situations, your camera mounting solutions should be flexible too. This guide covers several no-drill methods that work for various locations and camera types. You’ll learn about adhesive strips, magnetic mounts, clamps, suction cups, and tripod stands.
Adhesive Mounting Strips
Adhesive mounting strips give you a damage-free way to secure your camera in place. Start by cleaning the mounting surface thoroughly and letting it dry completely. Peel off the backing from one side of the strip and press it firmly onto your camera. Remove the backing from the other side and position the camera where you want it to be. Apply steady pressure for a few seconds to create a strong bond. These strips are most effective on smooth surfaces, such as walls or ceilings. Check the weight capacity listed on the package to ensure it can safely hold your camera.
Magnetic Mounts
Magnetic mounts attach easily to metal surfaces without the need for tools or drilling holes. These mounts use strong magnets that stick securely to metal doors, window frames, or filing cabinets. Clean and dry the surface first to get the strongest magnetic grip. Position your camera where you need it and let the magnets snap into place. You can adjust the angle and direction at any time to achieve better coverage. The best part? You can move and reposition the camera at any time without leaving marks. This makes magnetic mounts perfect for temporary setups or rental properties.
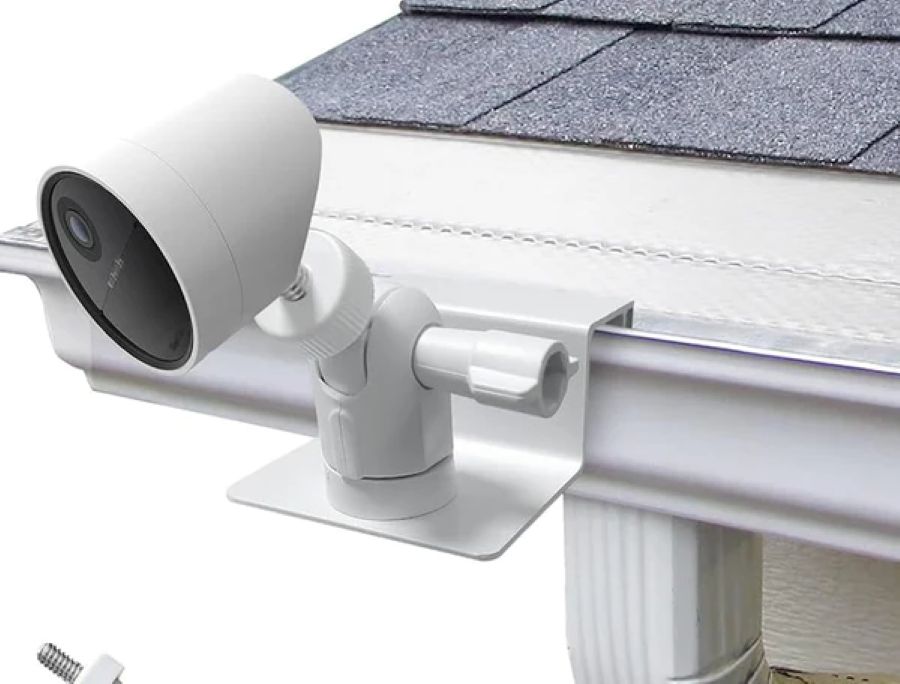
Clamp or Clip Mounts
Clamp mounts grip onto surfaces, such as shelves, window sills, or door frames, without requiring drilling. These mounts feature adjustable arms or brackets that accommodate a wide range of camera sizes and shapes. Look for clamps made from metal or heavy-duty plastic for better stability. Ensure the clamp has a strong grip to prevent your camera from accidentally falling off. Clean the surface before attaching the clamp to help it hold better. Clamp mounts provide the flexibility to install cameras in various locations around your property. They’re easy to move if you need to change your camera’s location later.
Suction Cup Mounts
Suction cup mounts work great on glass and other smooth, non-porous surfaces. These mounts create a vacuum seal that holds your camera securely in place. Clean and dry the surface thoroughly before installation to achieve maximum suction. Press the suction cup firmly against the surface, then engage the locking mechanism to create the seal. Adjust your camera to the right angle and tighten the mount. Suction cup mounts are suitable for temporary installations or areas where drilling is not possible. Check the suction regularly to ensure it remains strong and effective.
Tripod or Stand Mounts
Tripod mounts offer a stable and flexible way to position your security camera. Here’s what makes them useful:
- Adjustable Height: Most tripods feature adjustable legs that allow you to set the camera at the ideal height for optimal surveillance coverage.
- 360-Degree Rotation: Many tripod mounts allow you to pan and tilt the camera to efficiently monitor different angles.
- Sturdiness: Opt for tripods with a solid construction to ensure your camera remains steady without wobbling or tipping over.
Tripods are easy to move around, making them perfect for monitoring different areas at different times.
Command Hooks or Strips
Command Hooks and Strips offer a simple, non-invasive installation option. Command Hooks have adhesive backing that securely holds lightweight cameras. Clean and dry the mounting surface before applying. Follow the weight limits and instructions on the package. For heavier cameras, use Command Strips instead. These strips provide a stronger hold and remove cleanly without damaging surfaces. Pick the right size and weight capacity for your camera. Press firmly for a few seconds when attaching the camera to the strip. Always refer to the manufacturer’s instructions for optimal results with Command products.
Related Topics: