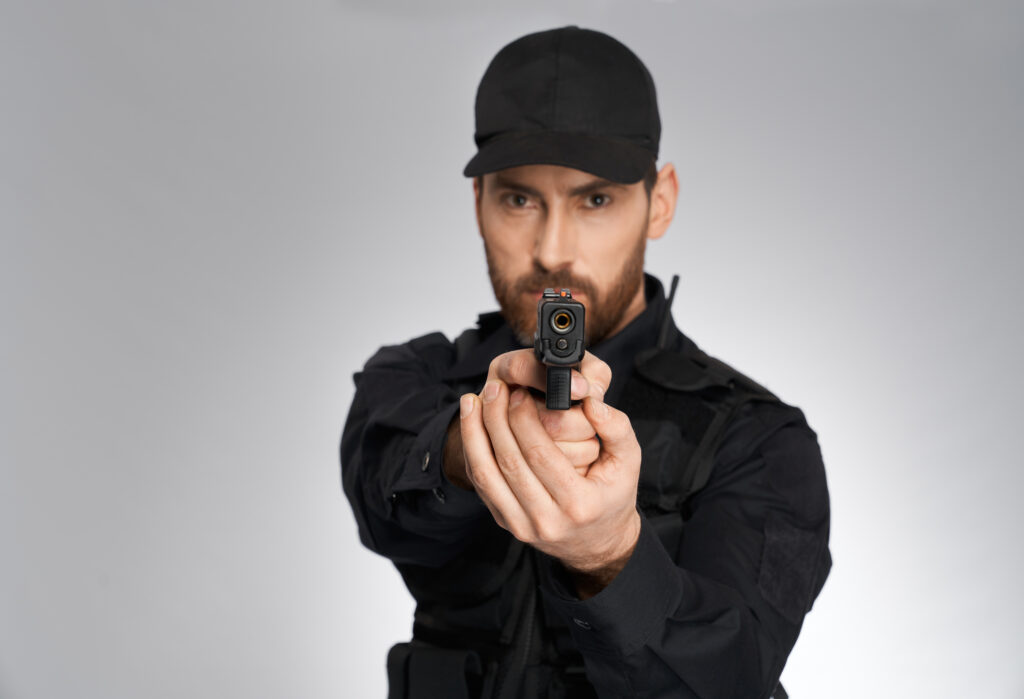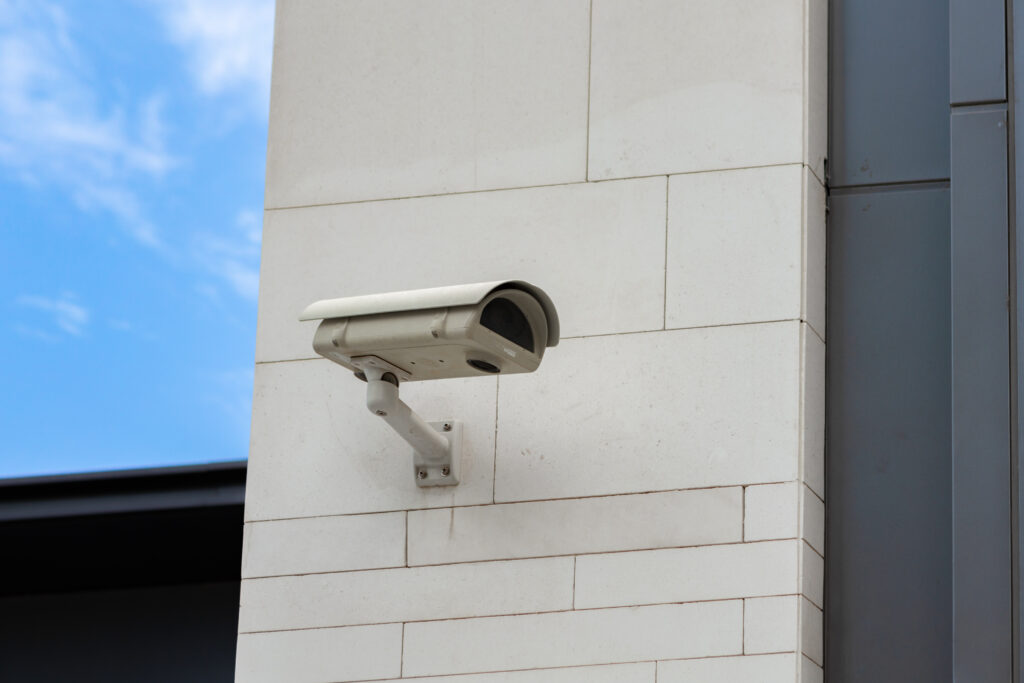
Installing outdoor security cameras might seem tricky at first, but it’s manageable with the right approach. This guide walks you through mounting cameras on brick or siding, from picking the perfect spot to testing your setup. You’ll learn what tools you need, how to prepare surfaces, and cable management tips. Downey’s skilled private security guards often recommend these installation techniques for homeowners who want reliable surveillance. Follow these steps to protect your property with a professional-looking camera system.
Choosing the Right Location
Select your camera spot carefully, considering what you need to capture. Place it where you get a clear view of the area you want to monitor. Avoid putting cameras behind trees or bushes that block the lens. Good lighting matters your camera needs enough light during day and night to capture clear footage. Look for spots where someone could hide from the camera’s view and adjust the angle to cover those areas. Smart placement means better security coverage for your property.
Necessary Tools and Materials
You’ll need some basic tools to mount your cameras correctly. Here’s what to grab:
- Drill with Masonry Bit: For making holes in brick or siding.
- Screwdriver: To securely attach the camera mount.
- Level: Keeps your camera straight and aligned.
- Anchors and Screws: For securing the mount to the surface.
- Weatherproof Sealant: Seals around the mount and stops water damage.
Having these tools ready before you start makes the job go smoothly.
Preparing the Mounting Surface
Prepare your surface before drilling. Select your spot based on what the camera needs to see and where you can easily run wires. Check the area for any obstructions that might interfere with mounting. Clean off dirt, dust, or debris that could mess with the installation. For brick, use a masonry drill bit to make holes for the anchors. For siding, locate the studs behind it so you have a solid surface to mount on. Ensure the surface is level and clear before proceeding.
Mounting the Security Camera
Mounting your camera correctly keeps it stable and allows you to film what you need. Here’s how to do it:
- Select the Right Spot: Choose a location that provides a clear view of what you want to watch.
- Use the Right Tools: Keep your drill, screws, anchors, and level readily available for a clean installation.
- Adjust Camera Position: Tilt and rotate the camera until you achieve the desired angle.
- Check Stability: Ensure the camera is securely locked in place to prevent shaking or movement.
- Test Camera Angles: Before finishing up, check that the camera actually captures what you need to see.
A solid mount means reliable footage when you need it.
Wiring and Cable Management
Use cable clips or conduits to keep your wires organized and protected. Good cable management makes your install look professional and protects the wires from damage. Plan your cable routes first to avoid problems or interference. Attach waterproof cable clips along the mounting surface to shield wires from rain and wind. For a cleaner look, run wires through cable conduits to hide them completely. Leave some extra wire near the camera so you can adjust things during setup. Label each cable so you can identify it later. These steps keep your wiring looking good and working right for years.
Testing and Adjusting the Camera
After everything’s mounted, test your camera to ensure it works properly. Here’s what to check:
- Check Camera Angles: Ensure the camera is positioned to capture what you want to see.
- Test Night Vision: Verify that the camera captures clear images in low-light conditions.
- Adjust Motion Detection: Set the motion sensors to avoid false alarms.
- Test Remote Access: Make sure you can view the camera feed on your phone or computer.
- Review Recording Quality: Watch some footage to confirm it’s clear and sharp.
Running these tests now saves you headaches later. Take time to fine-tune everything until you’re happy with how it works.
Related Topics: