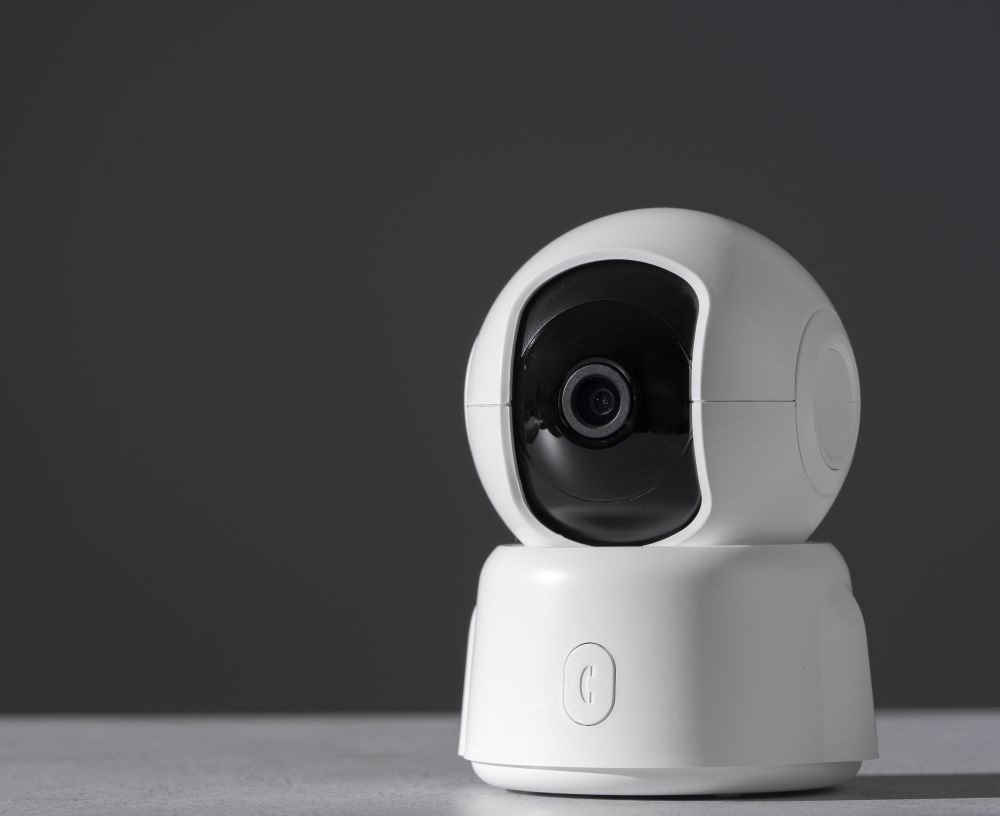
The Real Impact of Video Surveillance on Crime Prevention
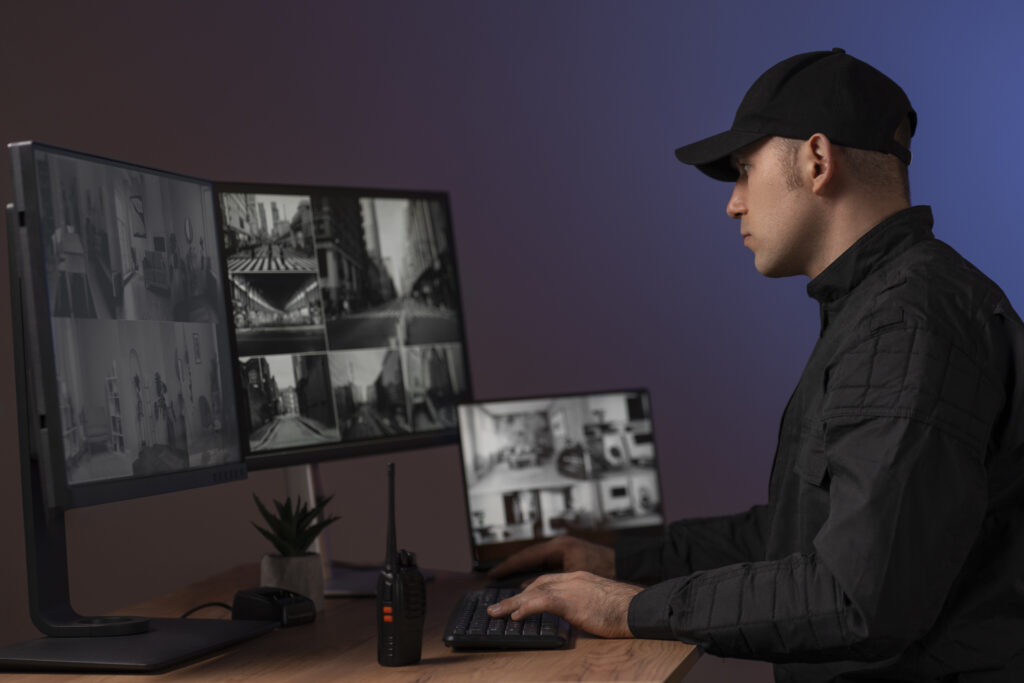
Video surveillance deters crime, speeds investigations, boosts public safety, and evolves with AI, while raising privacy concerns that demand clear oversight.
Smart Spots for Placing Security Cameras Outside Your House
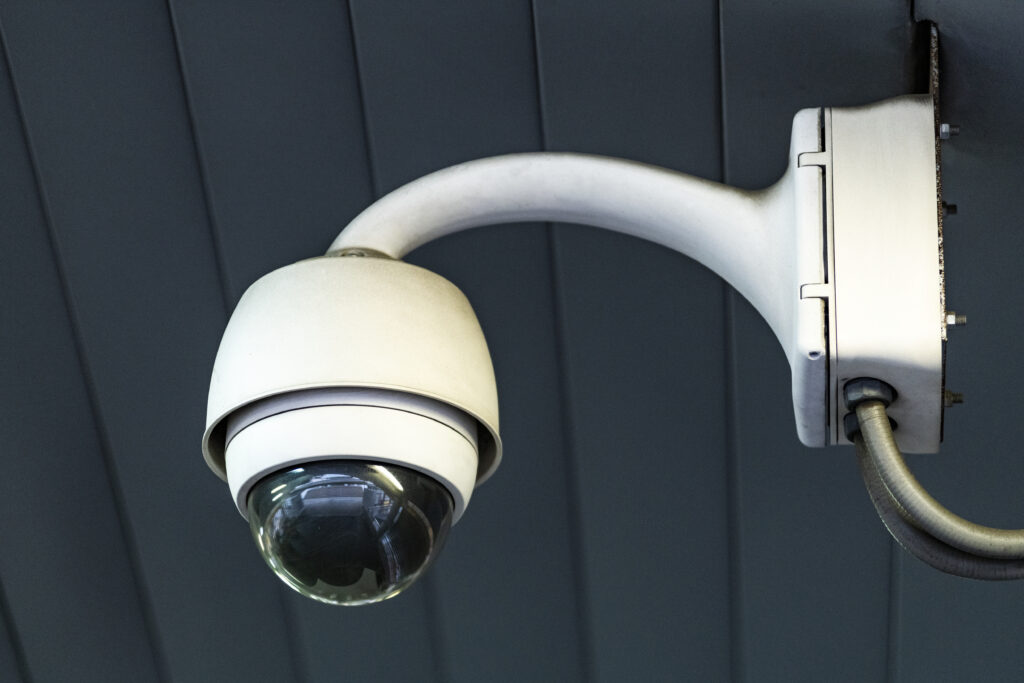
Place outdoor cameras at entry points, driveways, porches, garages, side gates, and backyards for maximum coverage and security.
Common Reasons Security Cameras Lose Video and How to Fix Them
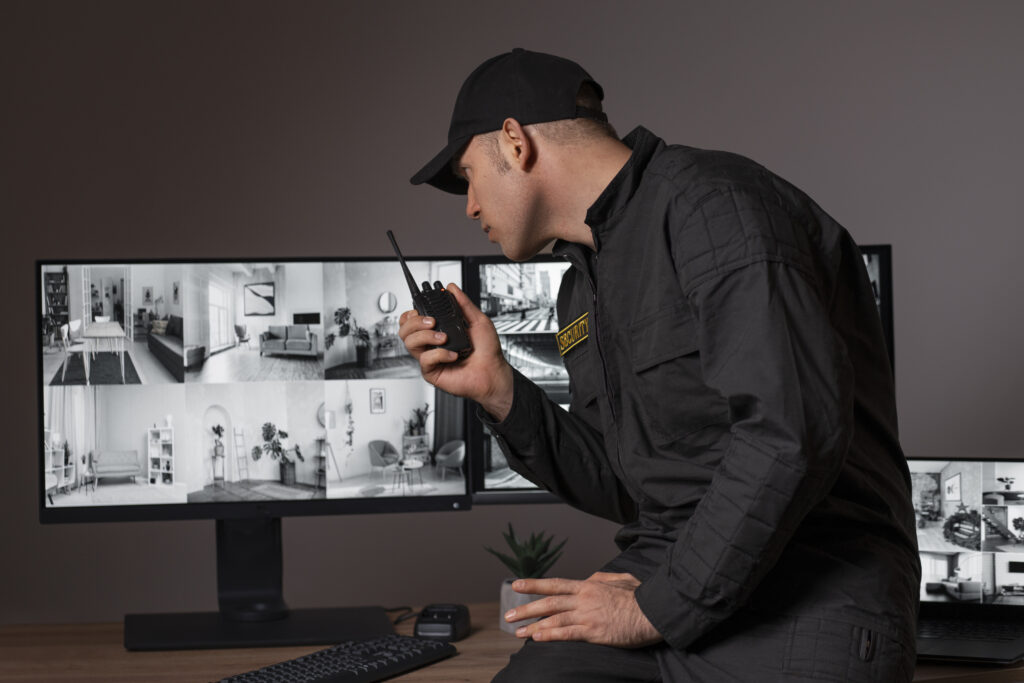
Cameras can fail from power issues, bad connections, settings, software, tampering, or weather; fix with UPS, maintenance, and updates.
Smart Ways To Prevent Insects From Gathering Around Security Cameras
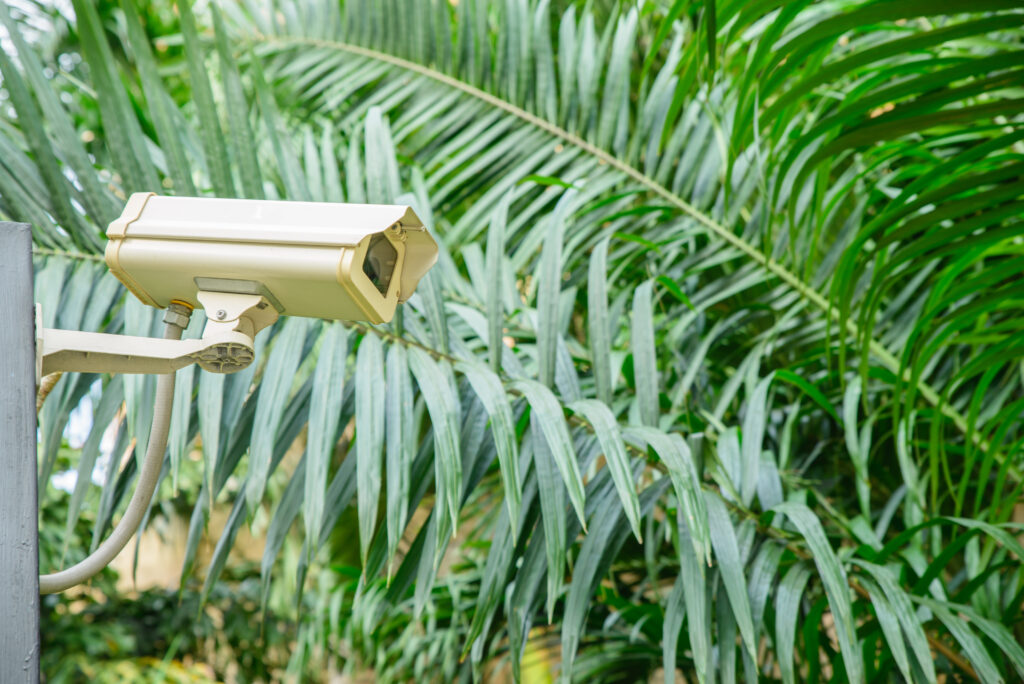
Prevent bugs on security cameras with weatherproofing, repellent lights, essential oils, plants, regular cleaning, and pest control.
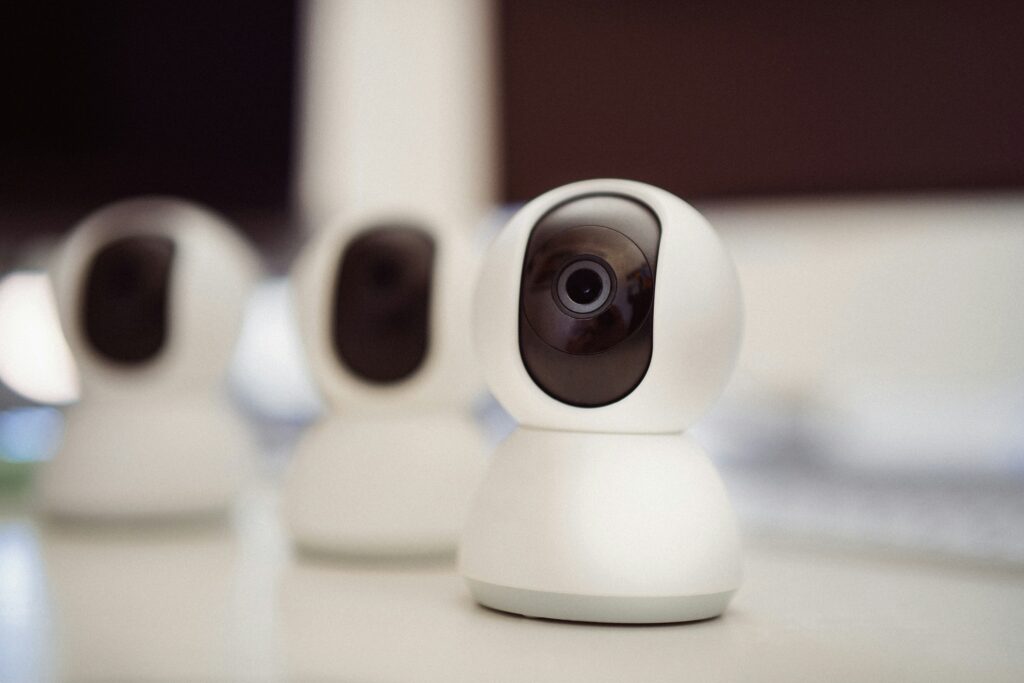
Why Video Surveillance is Important for Modern Security
Video surveillance boosts safety by deterring crime, documenting incidents, enabling remote monitoring, and supporting access control.
How to Decide if Wired or Wireless Security Cameras Are Right for You
Choose wired cameras for reliability and range, wireless for easy installation and flexibility; consider cost, coverage, and remote monitoring needs.
How to Reset Ring Security Camera Quickly and Easily
Ring security cameras have become a cornerstone of leading private security services for both residential and commercial properties. Sometimes, these cameras require a fresh start to resolve connection issues or performance problems. This guide walks you through the reset process step by step. You’ll learn what tools you need, where to find the reset button, […]
How to Mount Security Camera Without Drilling: Simple DIY Solutions
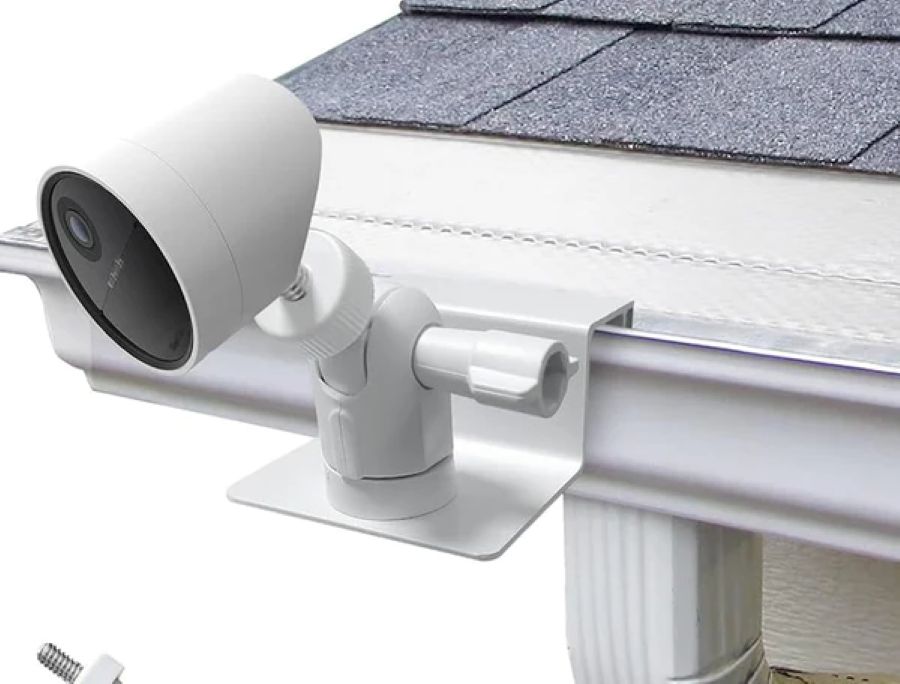
Protecting your property doesn’t always require permanent installations or complex tools. Many homeowners and renters want to install cameras without damaging walls or surfaces. Just like trusted private security guards adapt to different situations, your camera mounting solutions should be flexible too. This guide covers several no-drill methods that work for various locations and camera […]
Best Fixes for Security Camera Lag or Delayed Motion Alerts
Security camera lag and delayed motion alerts can compromise your property’s protection. These issues frustrate homeowners and even local private security guards who rely on instant notifications. This guide offers practical solutions to resolve these issues and get your cameras up and running smoothly again. You’ll learn about network optimization, firmware updates, camera placement, motion […]
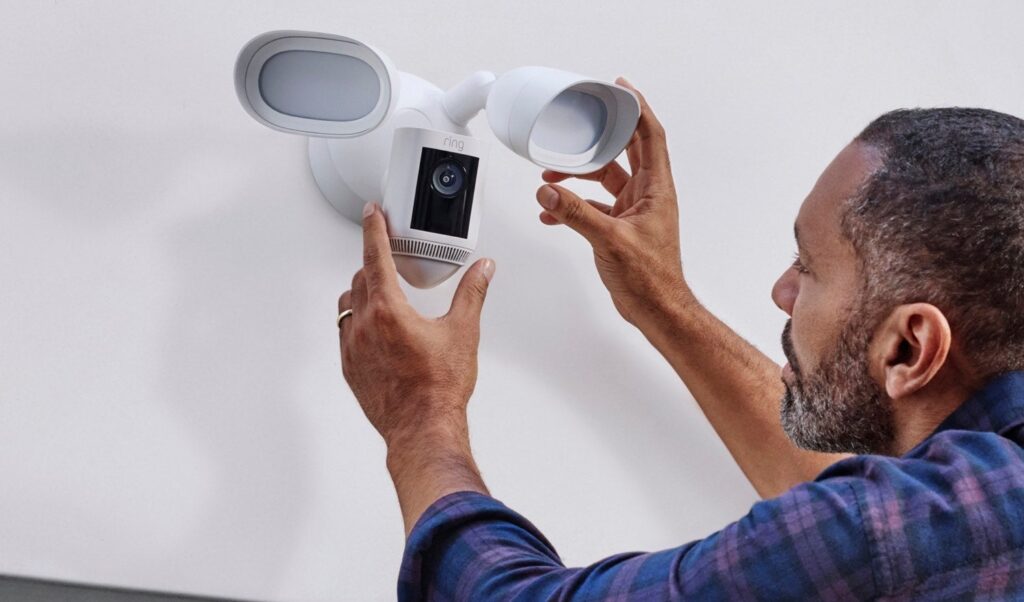
How to Install Outdoor Security Cameras on Brick or Siding Safely and Securely
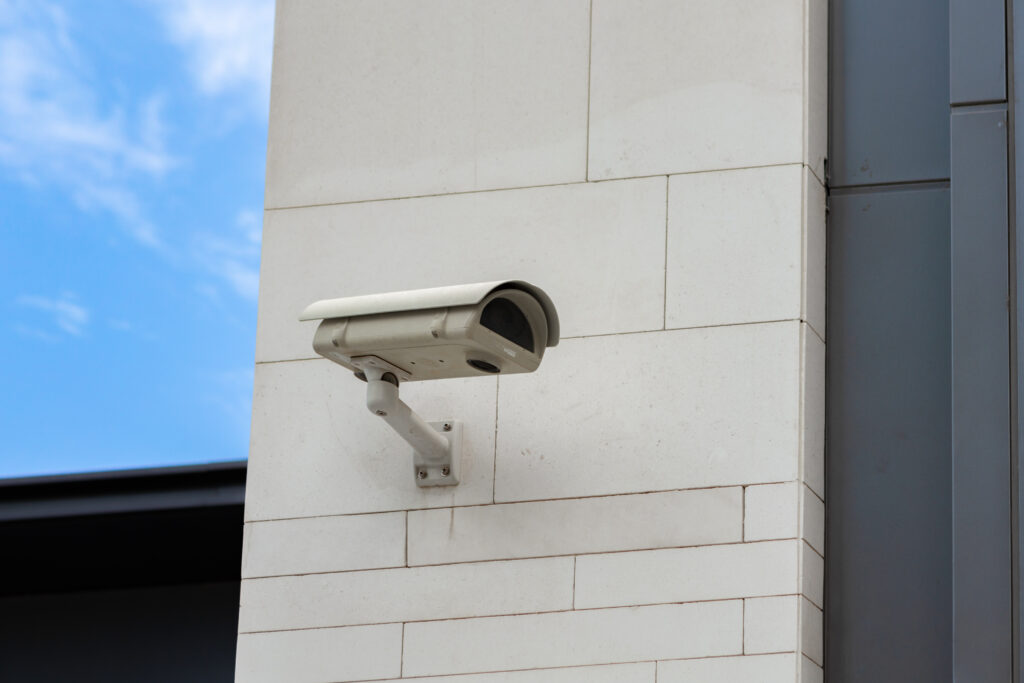
Installing outdoor security cameras might seem tricky at first, but it’s manageable with the right approach. This guide walks you through mounting cameras on brick or siding, from picking the perfect spot to testing your setup. You’ll learn what tools you need, how to prepare surfaces, and cable management tips. Downey’s skilled private security guards […]